

Get your creative juices flowing~~~
Designed by: Bonnie Cottingham

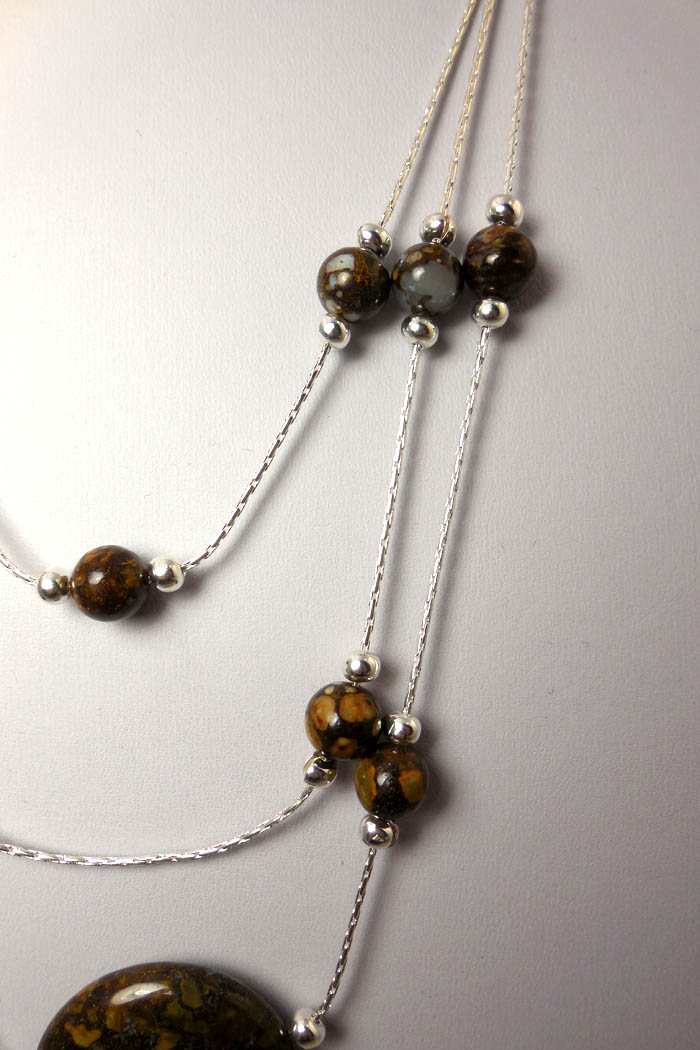
There is a heart of fire glowing from within this cool milky stone. Silver, like ice, shimmers against the contrast of the fire opal.
Necklace:
Cut the beading chain into 2- 12inch lengths, 1- 10 inch length, 1- 14 inch length.
Starting with the 14 inch piece of chain, string on the 30mm Fire Opal Coin bead to the centre, place crimp on either side and flatten with a pair of pliers. Cover the crimp with a crimp cover.
You can choose your own placement of the 8mm round Fire Opal beads. Make sure to place a crimp above and below the bead to keep it in place. The crimps are then covered with a crimp cover.
Do this for the rest of the 14 inch length with the coin bead as well as 1- 12 inch length and the 10 inch length. Place as many or as few beads as you want.
When you are happy with your design, glue on the 1mm end caps with loops to the ends of the beading chain. Make sure everything is crimped into place, before picking it up.
Cut the rolo chain into 2- 6inch lengths.
Using the 10 inch strand, attach the end cap loops to the rolo chain using oval jumprings. Attach a lobster claw and a jumpring for the closure.
Attach the 12inch strand and 14 inch strand to an 8mm closed jumpring, using oval jumprings. Then open the oval jumpring connecting the 10inch strand/rolo chain and slip on the closed jumpring. Repeat the same for the other side.
Necklace Complete!
Bracelet:
Save 2 beads for the ends, but decide how many beads you want to focal on your bracelet. Slide your design onto the last 12inch strand of chain. I chose to place a crimp in the middle of the chain and cover with a crimp cover. Then I slid 3 beads onto each side of the centre crimp (total of 6 beads) and crimped again on each side to keep them locked into place.
String each end of the chain through the silicone bead clasp, going in opposing directions. On each end of the chain, slide on a crimp then a bead, another crimp and crimp cover, as close to the end as possible.
Bracelet Done 🙂
Earrings:
On an eyepin, flatten a crimp using pliers under the loop. Cover with a crimp cover. Slide on 3 beads and another crimp. Then cover and trim the end of the eyepin flush to the bottom of the cover. Open the loop on the earring finding and connect it to the loop on the eyepin.
Repeat for the other earring.
Voila!


Components
Go to our components list for this project and to buy what you need!
Need some help with some of the techniques? Check our tips page.